Effortless Screen Sharing with the JAV H10S Pro Smart Board

The JAV H10S Pro Smart Board is built to make collaboration simple and intuitive — whether you’re teaching in a classroom, leading a meeting, or hosting a hybrid training session.
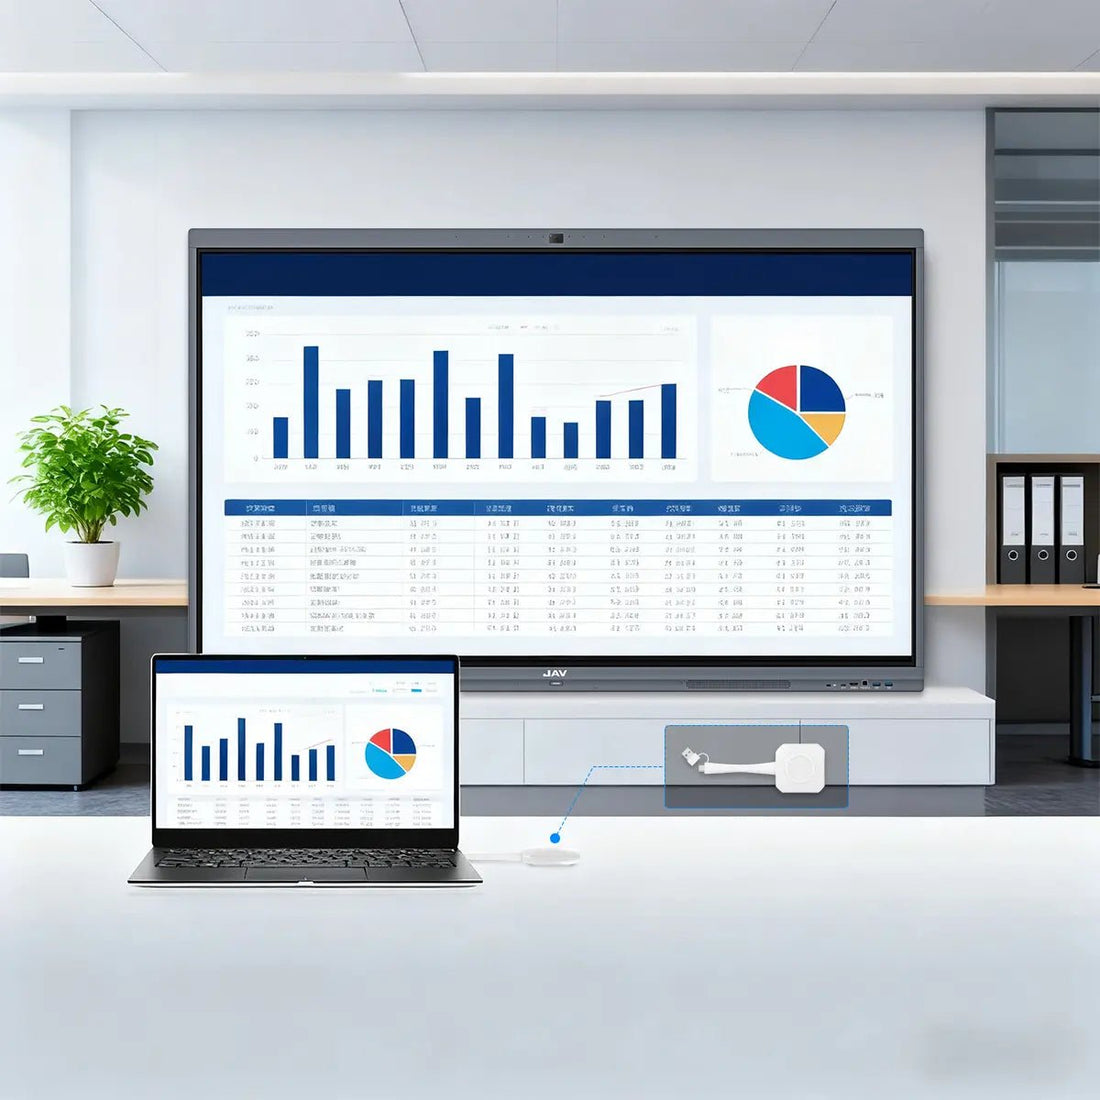
One of its standout capabilities is screen sharing, allowing users to connect their personal devices to the smart board (and even mirror the board to their devices) in multiple convenient ways.
In this article, we’ll walk you through all the main methods to share your screen with the JAV H10S Pro Smart Board — including wireless, wired, and remote options.
1. Wireless Screen Sharing with ESharePro
The ESharePro app is the easiest and most popular way to share your device’s screen wirelessly with the H10S Pro.
Pre-installed on every JAV H10S Pro, ESharePro supports Windows, macOS, Android, and iOS devices.

Here’s how to use it:
-
Install ESharePro on your device. (Available from the ESharePro website or app stores.)
-
Connect both devices to the same Wi-Fi network.
-
Open ESharePro on both your H10S Pro and your device.
-
On the H10S Pro, tap Settings in ESharePro to find the device name.
-
On your device, tap the same device name to connect and start screen sharing.

Your device’s screen will now appear on the H10S Pro. You can annotate, draw, or interact with the content directly on the smartboard.
ESharePro also supports reverse screen sharing — mirroring the H10S Pro’s display to your device while allowing remote control. This means you can manage content both from your board and from your laptop or tablet at the same time.
2. Screen Sharing via the Windows OPS
To extend your smart board’s functionality, JAV offers an optional Windows OPS module — a compact plug-in computer that transforms your H10S Pro into a full Windows 11 PC.
The Windows OPS comes with an Intel i5-12450H processor, 8GB RAM, and 256GB storage, delivering smooth Windows 11 performance.
Once installed, you can use Google Chrome Remote Desktop to share screens remotely from anywhere in the world — perfect for business collaboration, remote teaching, or technical support.
3. How to Use Chrome Remote Desktop on the H10S Pro (Windows 11 OPS)

Before You Start
-
Ensure your H10S Pro is equipped with the Windows 11 OPS module and connected to the internet.
-
Install Google Chrome and sign in with your Google account on the H10S Pro.
-
On your remote computer (Windows, Mac, or mobile device), install Chrome and sign in with the same Google account (or one with access permissions).
-
Both devices should have a stable network connection.
Step 1: Set Up Remote Access on the H10S Pro
-
On the H10S Pro, open Chrome and visit remotedesktop.google.com/access.
-
Click “Set up Remote Access.”
-
Download and install the Chrome Remote Desktop Host application when prompted.
-
Choose a device name (e.g., H10SPro-MeetingRoom) and set a 6-digit PIN for secure access.
-
After setup, the H10S Pro will appear as an online device in your Remote Desktop dashboard.
Step 2: Connect from Your Remote Device
-
On your remote computer, open Chrome and visit remotedesktop.google.com/access.
-
Sign in with the same Google account.
-
Under “Remote Devices,” click your H10S Pro’s name.
-
Enter the PIN you created and click Connect.
-
You’ll now see the H10S Pro’s Windows 11 desktop on your screen.
Step 3: Share and Control the Screen
Once connected, you can fully control the H10S Pro Smart Board remotely — move the mouse, open files, or launch applications.
Meanwhile, anyone standing at the board can still write, draw, or annotate directly on the touch screen, while the remote user sees every action in real time.
This is ideal for remote teaching, business presentations, and cross-location collaboration.
If you’ve connected peripherals such as a keyboard or mouse to the OPS module, you can also operate the board like a traditional PC.
Step 4: End and Secure Your Connection
-
When you’re done, click “Disconnect” or simply close the browser tab.
-
To disable remote access, return to remotedesktop.google.com/access and click “Disable Remote Connections.”
-
For security:
-
Use a strong PIN.
-
Keep Chrome and Windows 11 updated.
-
Turn off sleep mode if you need long-term remote access.
-
4. Wired Screen Sharing with HDMI
For a reliable wired option, the H10S Pro Interactive Display supports HDMI output.
Simply connect an HDMI cable from the HDMI Out port on the board to another display or projector, and both screens will show identical content.
This setup is perfect for large classrooms, lecture halls, or dual-screen presentations.
With the Windows OPS installed, you can also connect a keyboard and mouse to enjoy a full desktop experience.
5. Screen Sharing with the Android 13 OPS
Besides the Windows OPS, JAV also offers an Android 13 OPS module, which turns the H10S Pro into a high-performance Android tablet.
Featuring 16GB RAM and 256GB storage, this version delivers faster performance for demanding apps while supporting all familiar smart board features — file presentation, screen sharing, and annotation.
It also supports HDMI screen output, making it easy to connect external displays for extended presentations or group collaboration.
Whether you’re wirelessly casting with ESharePro, connecting via HDMI, or collaborating globally through Chrome Remote Desktop, the JAV H10S Pro Smart Board offers a flexible and reliable screen-sharing experience.
From classrooms to boardrooms, these multiple sharing options ensure that ideas flow freely — no matter where your team or students are.


0 comments